The Rad-O-Matic
A friend and colleague of mine handed me a LilyGo T5 a couple of months back (We sometimes trade electronics “overstock” resulting from getting over-excited during late night shopping sprees on AliExpress).
I stuffed the T5 into my bag and mostly forgot about it until a few days ago.
The device is marketed as a digital price tag, but since it has a capable onboard microcontroller (ESP32), SD card support, an E ink display along with WiFi and Bluetooth capabilities, you can use it for so much more.
The first order of the day⌗
was to figure out how to program the T5.
This turned out to be unexpectedly easy. An example code base for a name tag web server can be found on Github. The example code base is used to demonstrate the capabilitities of multiple versions of the board, so you will have to configure the code for compiling for the correct board version and display driver.
After having configured the code, you just plug in a USB cable, hit “Upload” in PlatformIO and you’re done.
Well, almost.⌗
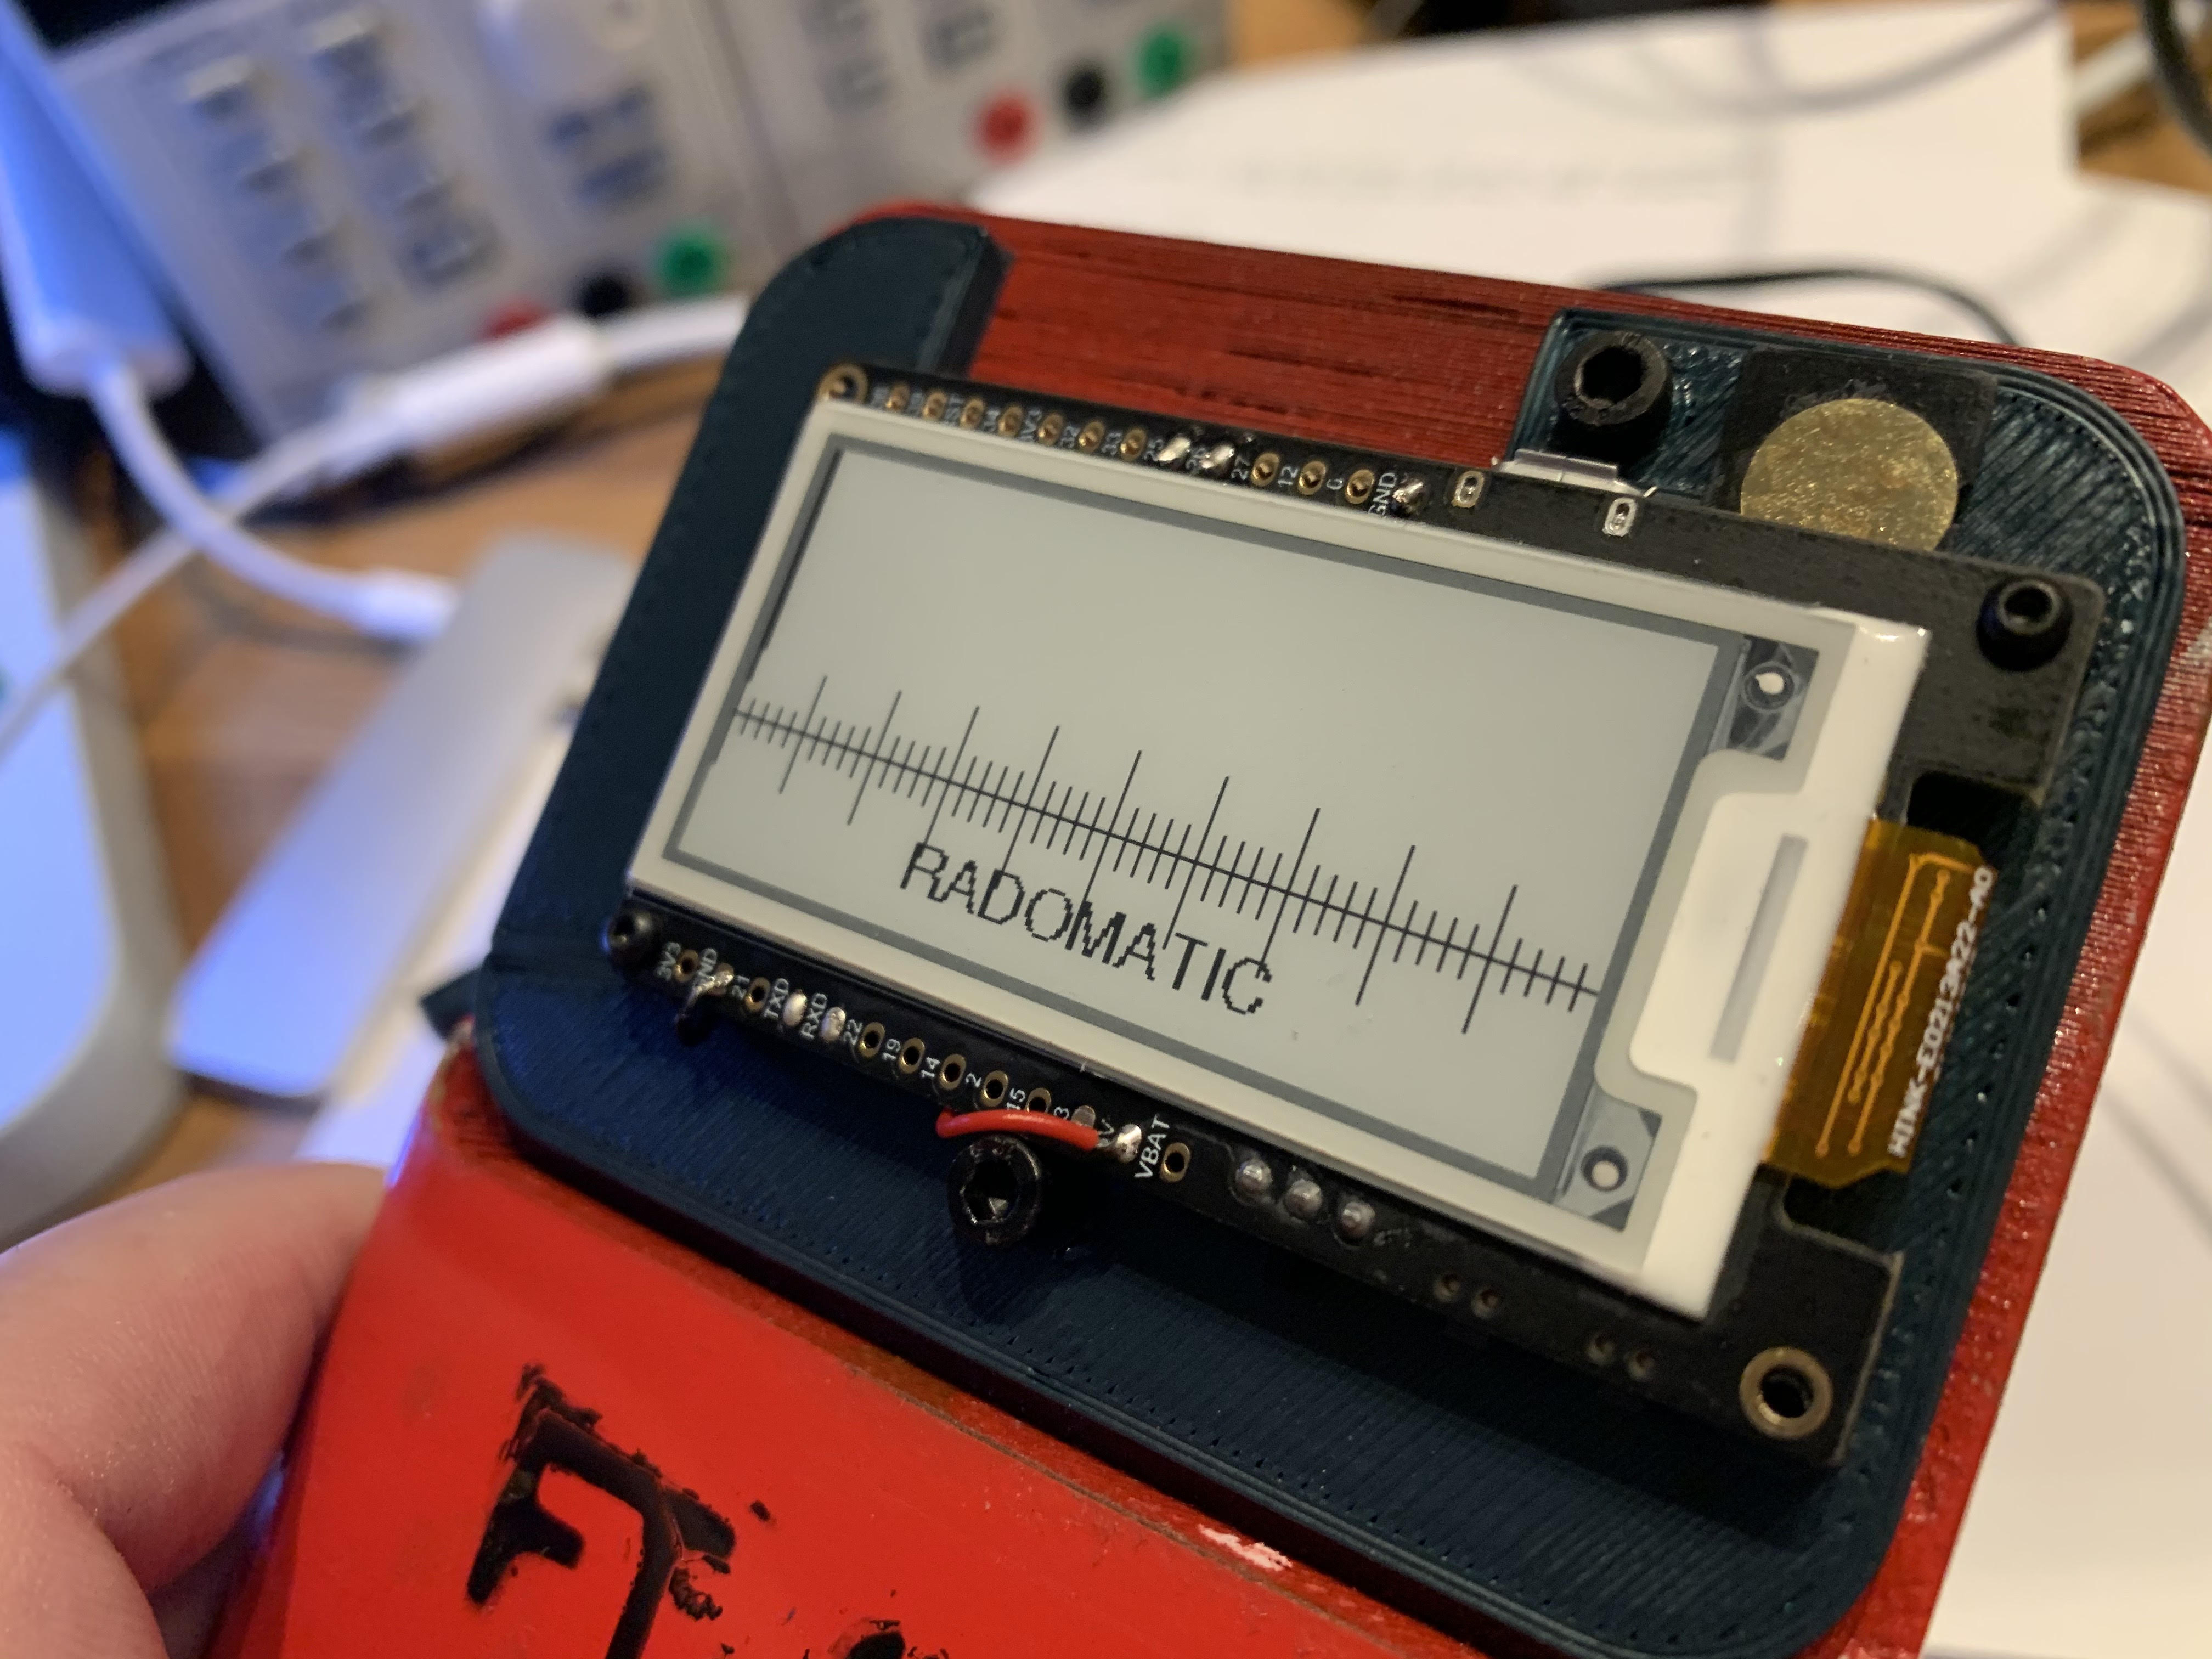
It is always more fun to make something that is actually useful. I decided to hook the T5 up to a RD200M radon sensor from a previous project.
The sensor communicates via a 3.3V level UART, so I hooked up the TX/RX pads on the board to the UART on the radon sensor.
No joy…
Turns out that TX/RX pads can’t be used with any of the ESP32 UARTS. You can however use pins 25 & 26 as UART TX/RX for Serial2 (The example code base uses arduino framework on an espressif32 platform).
In an attack of extreme laziness,⌗
I decided to grab a third party driver implementation for the RD200M sensor from GitHub instead of porting my own nrf52 / Apache mynewt based implementation from the previous project…
After having done some minor changes to the driver, I was able communicate with the sensor and also display the radon levels on the E ink screen.
But where’s the fun in that ?⌗
(Without a decent enclosure, that is)
Enter the…
Rad-O-Matic!⌗
I fired up Fusion 360, did some sketches and started melting plastic.
I decided to go for a kind of “found artefact” / weathered look. After having built up a few coats of filler and paint, it was time to abuse the enclosure a bit, in order to create dents and scratches that would accumulate dirt. After the scratching, it was time to add a few washes of paint in various colors / shades and then clean everything off again.
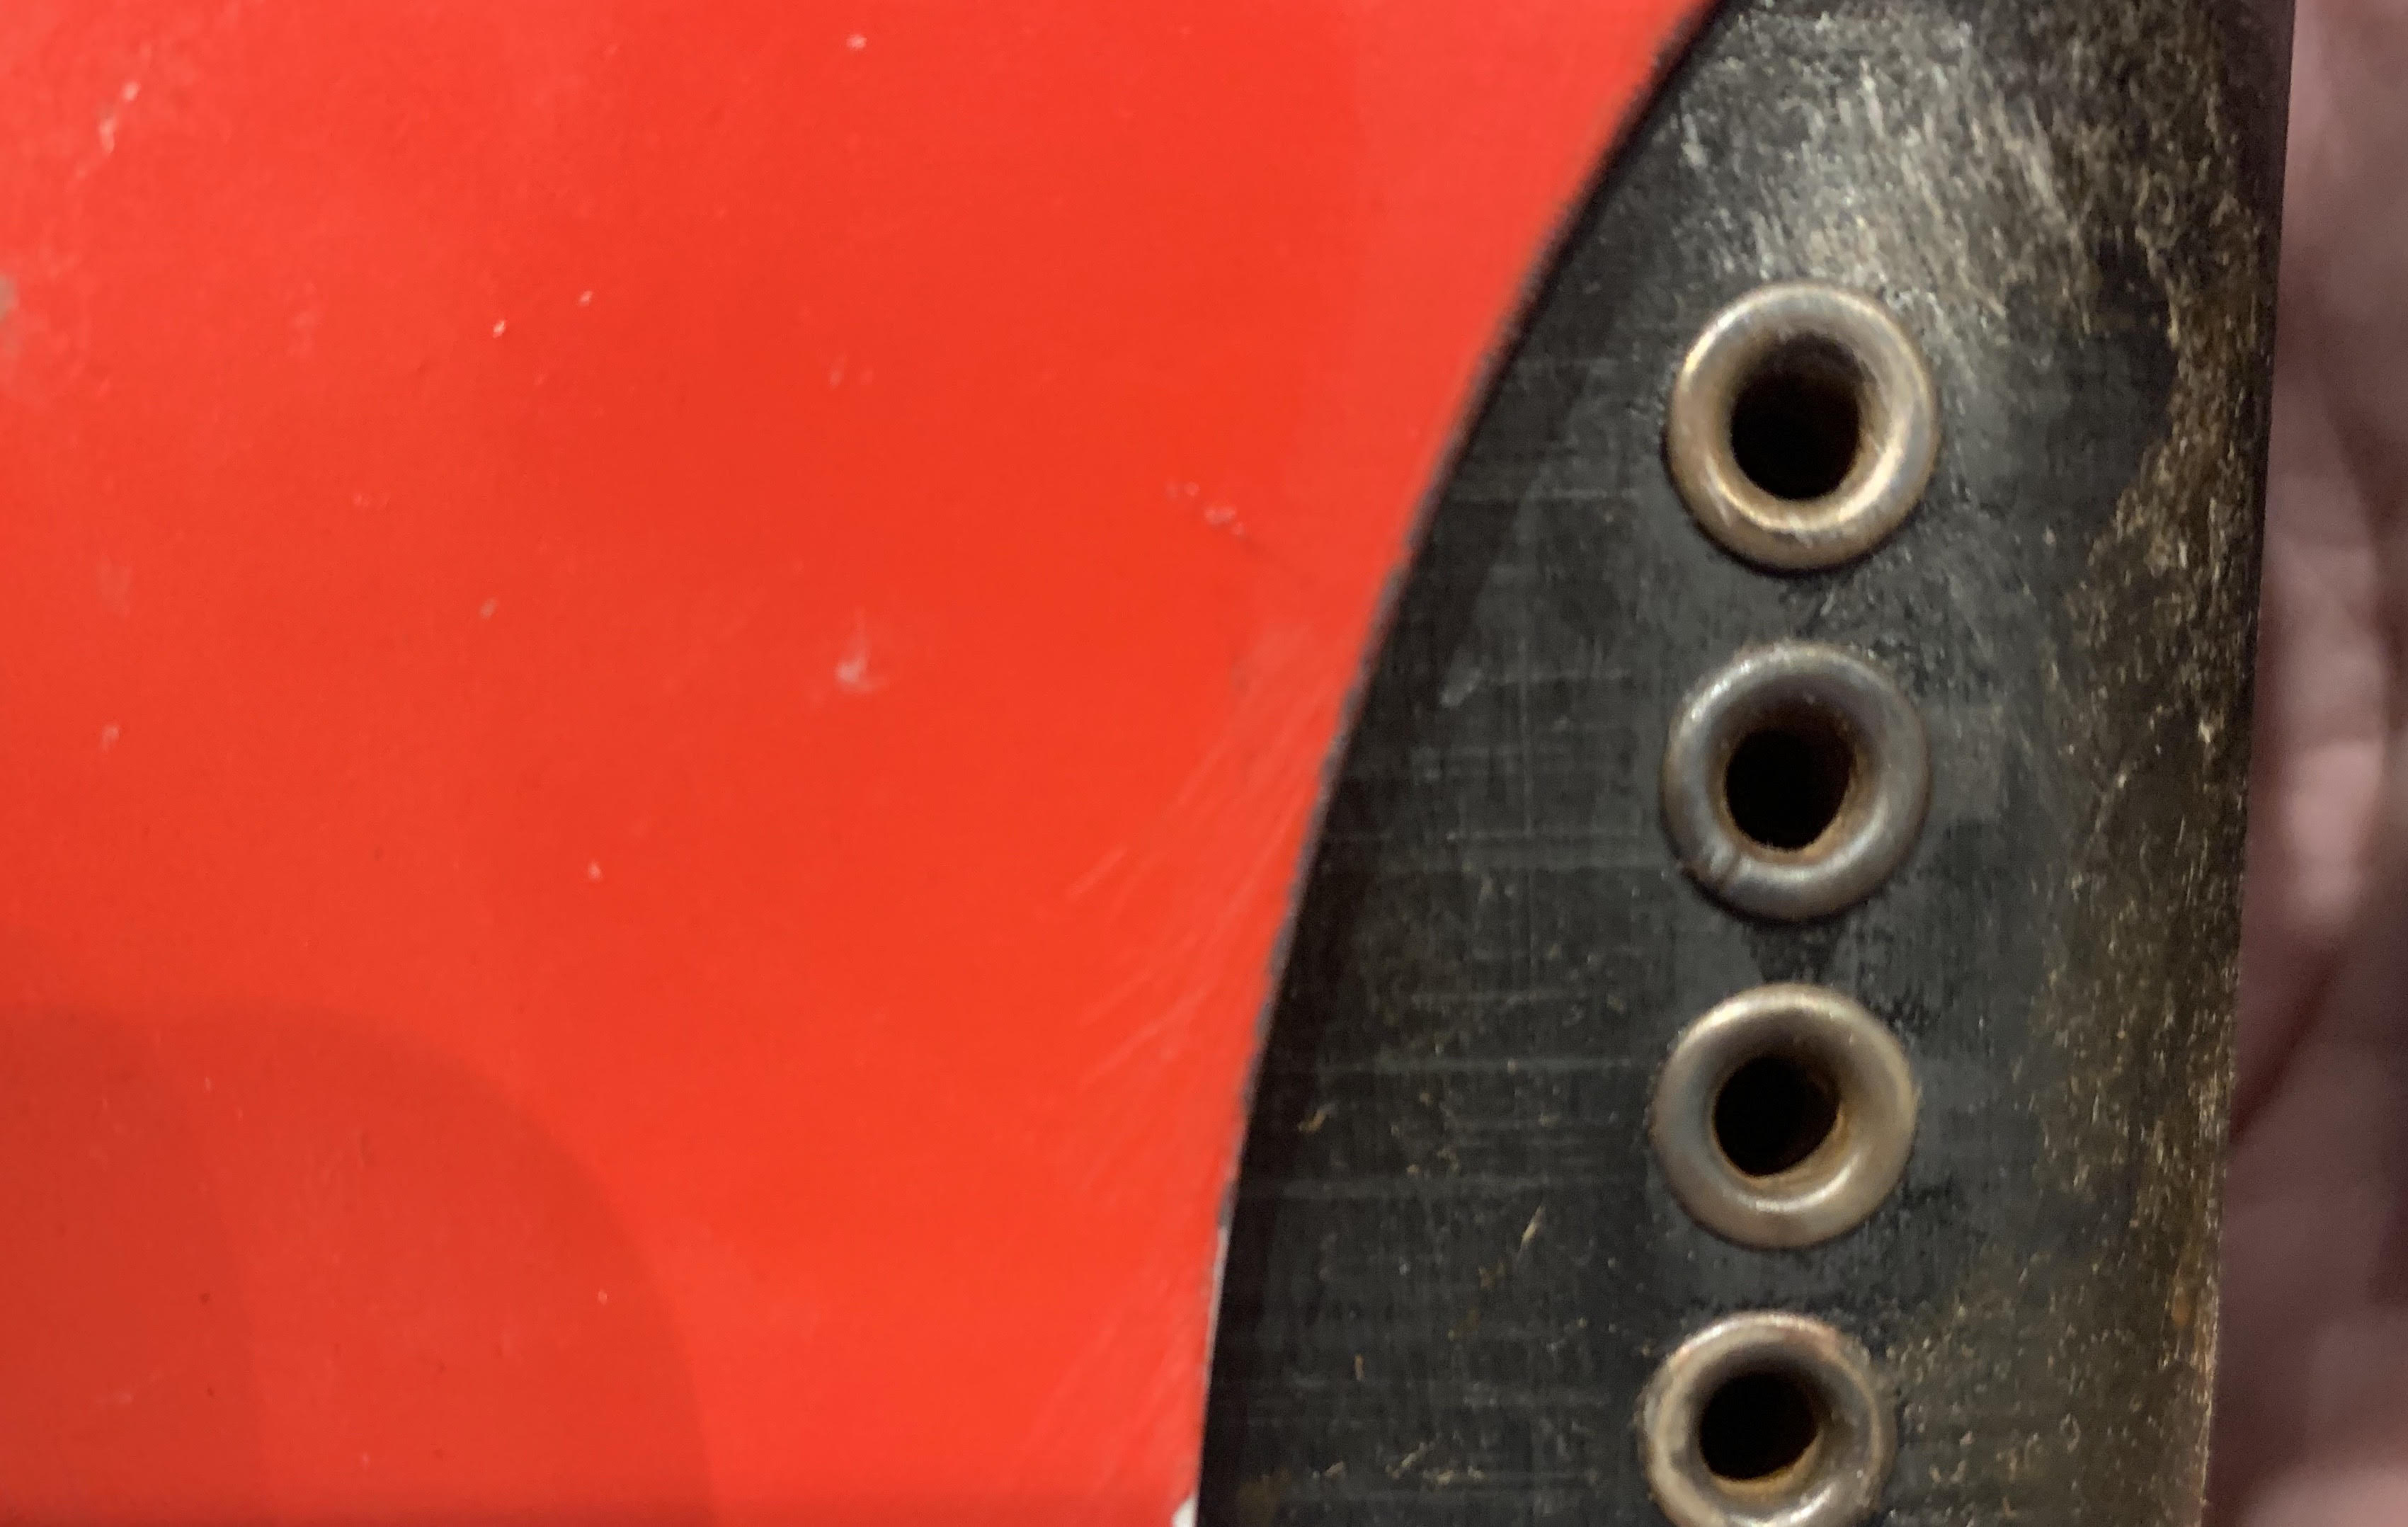
The metal details were flame oxidized and attached before the washes were applied.
The enclosure started looking decent, but the display still looked a bit off. I had initially displayed the readings in pCi/L and Bq/m3, but this looked kind of anachronistic as part of an allegedly vintage device. I therefore ditched the text display and rendered an edgewise horizontal scale along with an indicator needle that moved according to the radiation levels.
It still looked way to clean and shiny, so I placed a cracked fresnel lens in front of the display (after having stained the fresnel lens with enamel).
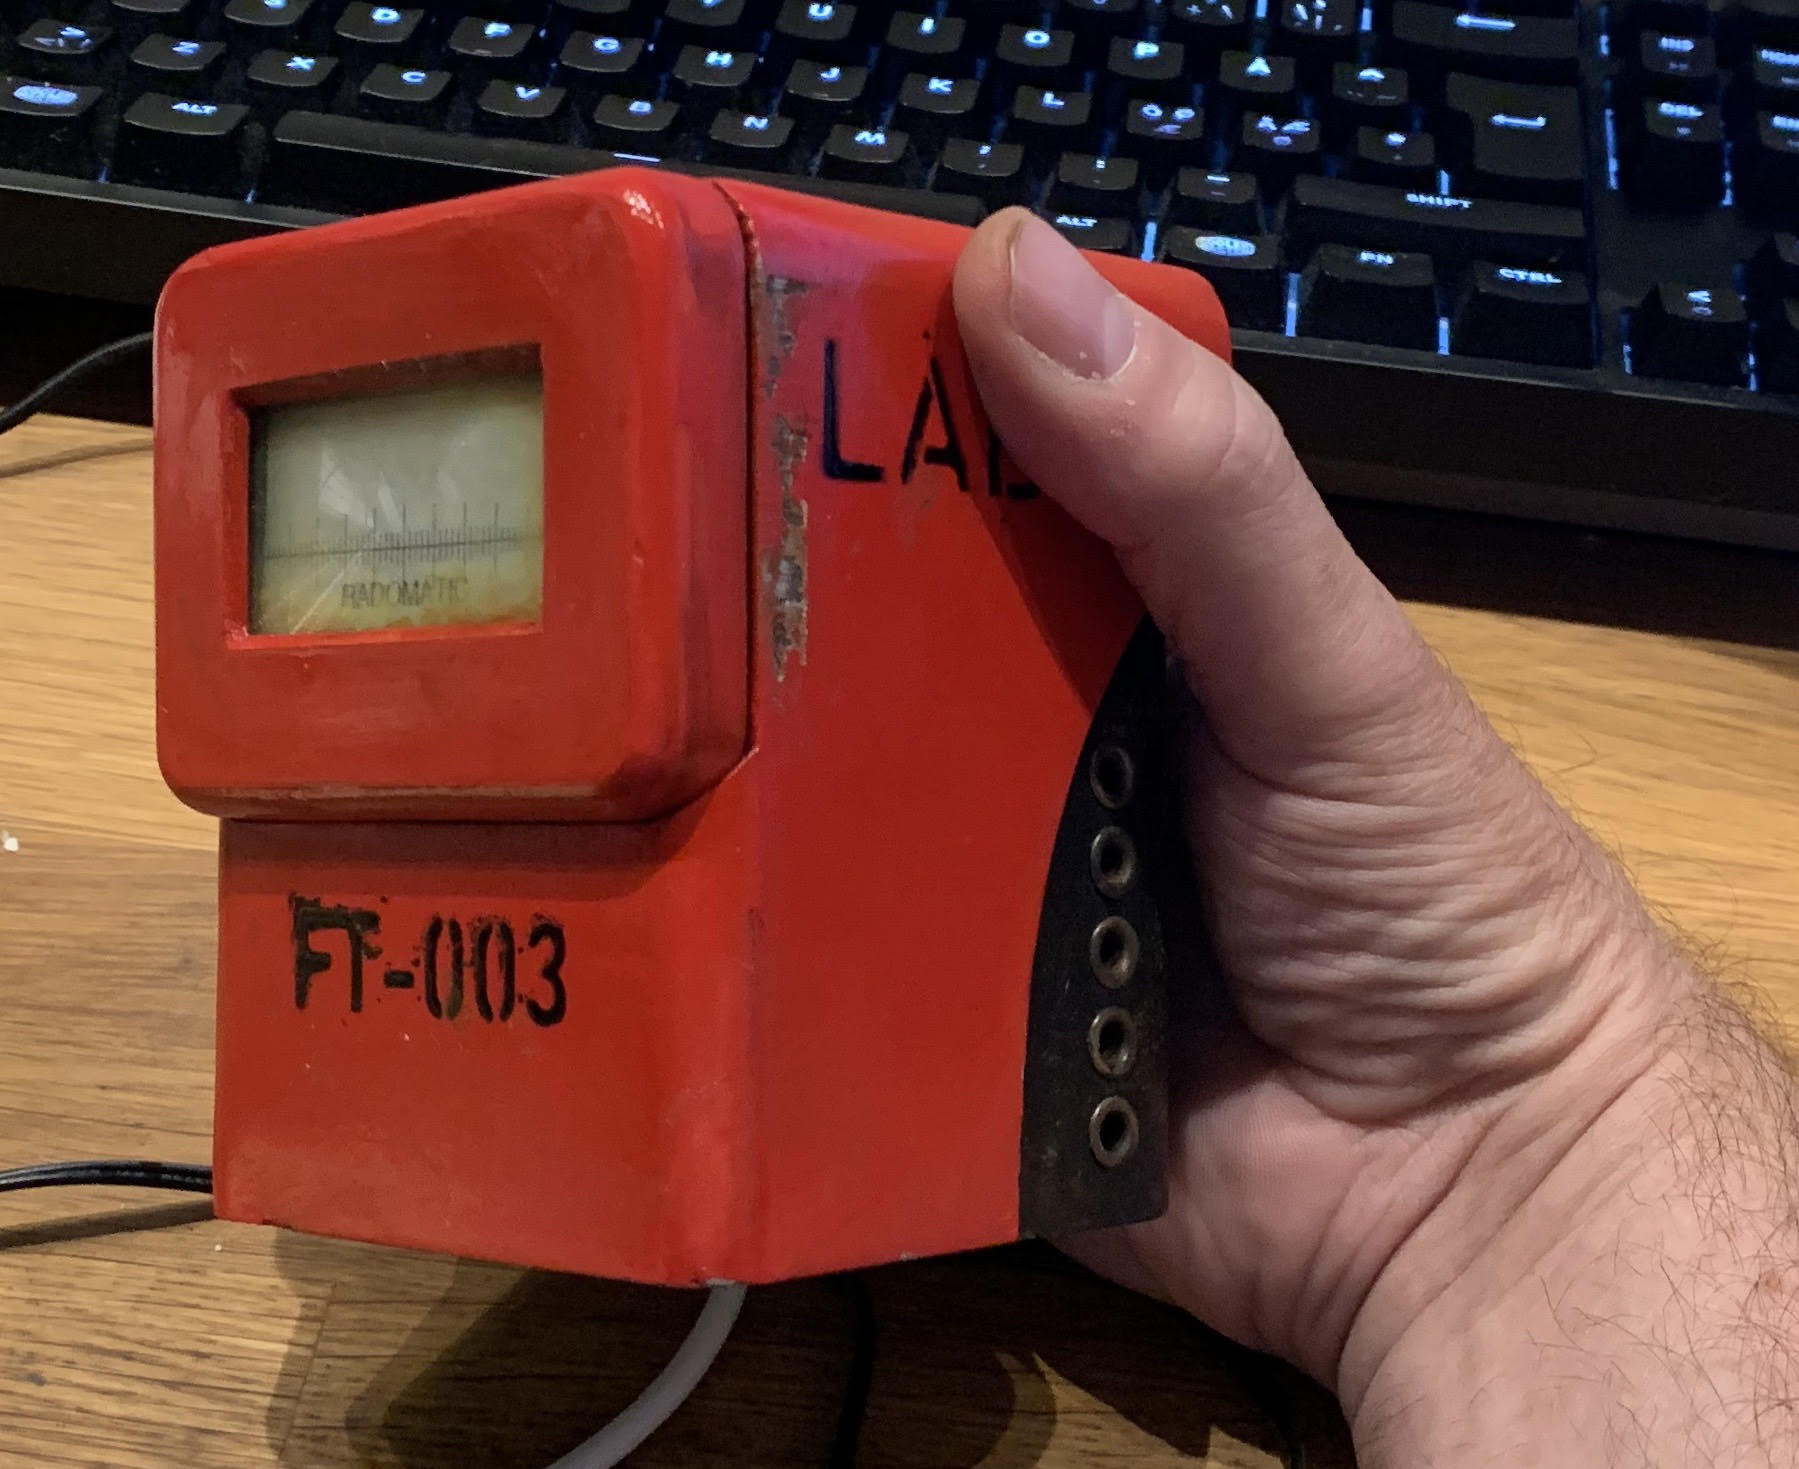
The Rad-O-Matic is now a functional device and it is happily monitoring the radon levels in the basement lab - which turn out to be on the order of 128 Becquerel /m3 on an autumn day.